You will need a photo editor. I use Paint Shop Pro because it is easy to resize and rotate the image.
First thing you need to do is to get a very focused scan or photo of your stamp. Use daylight if possible, if not a flash on a tripod will do. Using a tripod makes the photo sharper because any slight hand movement when pressing the shoot button on the camera may result in a blurry photo. You also need to make sure that you are dead-on top of the stamp (at 90 degrees angle relative to the stamp). Shooting the stamp at an angle will only cause you grief later and make the comparison process harder do to the fact that one edge of the stamp is not the same size as the opposite edge when shooting at an angle. Also make sure that the camera is set for extreme closeup.
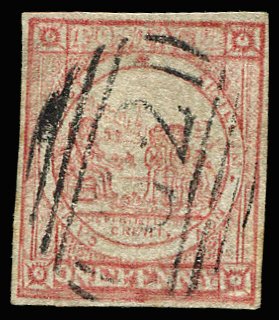
Once you have taken the photo and seen that it looks resonabley "square" and focused in the preview mode, transfer the image into your computer and bring the image into your photo editor.
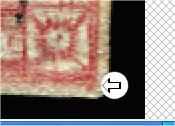
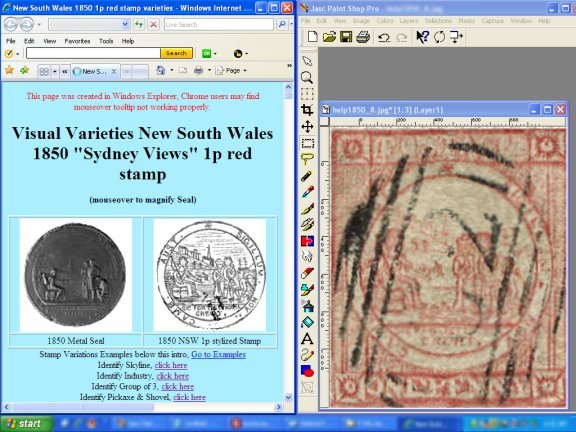
This is what your image may look like.
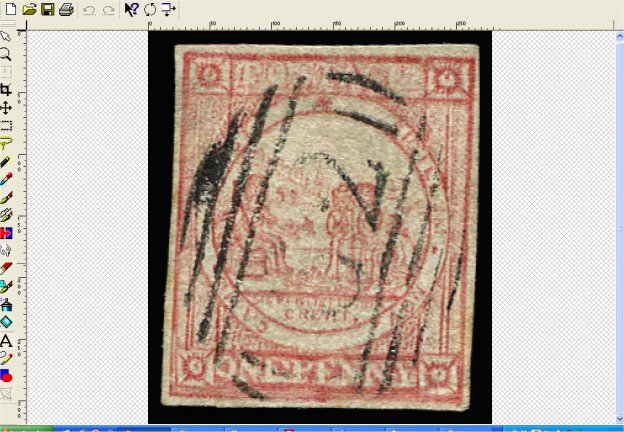
The next step is to square it off and enlarge.
Use the editors zoom to make the image fit the screen from top to bottom.
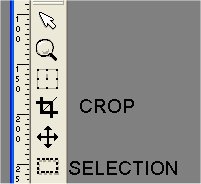
Now to rotate.
Find the selection tool or the crop tool.
Place the tip of the mouse curser at the top left corner of the image exactly where my pointer is at.
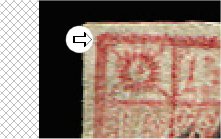
Click and move the mouse pointer to the bottom right corner.
Now your screen should look like this, with the crop lines showing.
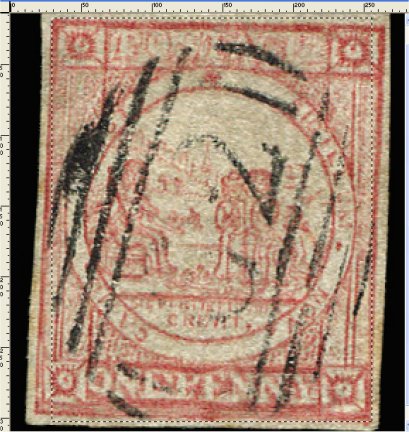
We went through these step to see how many degrees you need to rotate your stamp either left or right to make the crop lines match exactly with the edge image of the stamp.
Usually you only need to rotate using 0.50 degress at a time. Then when you find that the next rotation passes the crop lines, undo that rotation and change the degrees to 0.25 and try again until you are dead on. You may see that 3 out of 4 edges are dead on but the 4th edge may still be off center. There is nothing you can do about this. The most important edges are the top and the bottom for our comparison. 3 out of 4 is good.
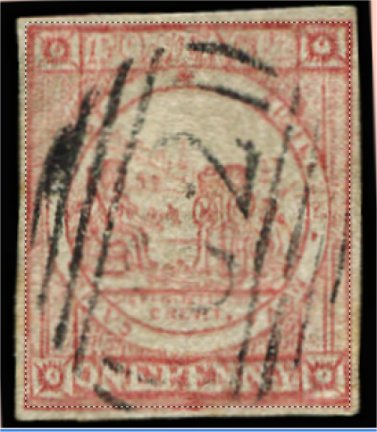
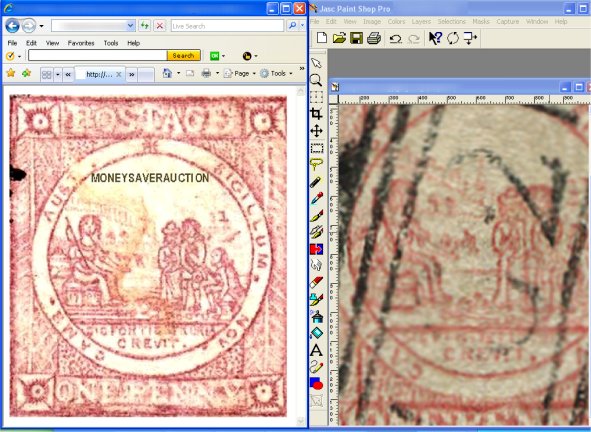
Now that we have our stamp rotated square, click on edit/copy image, then edit/paste as new image which should give you this new image.
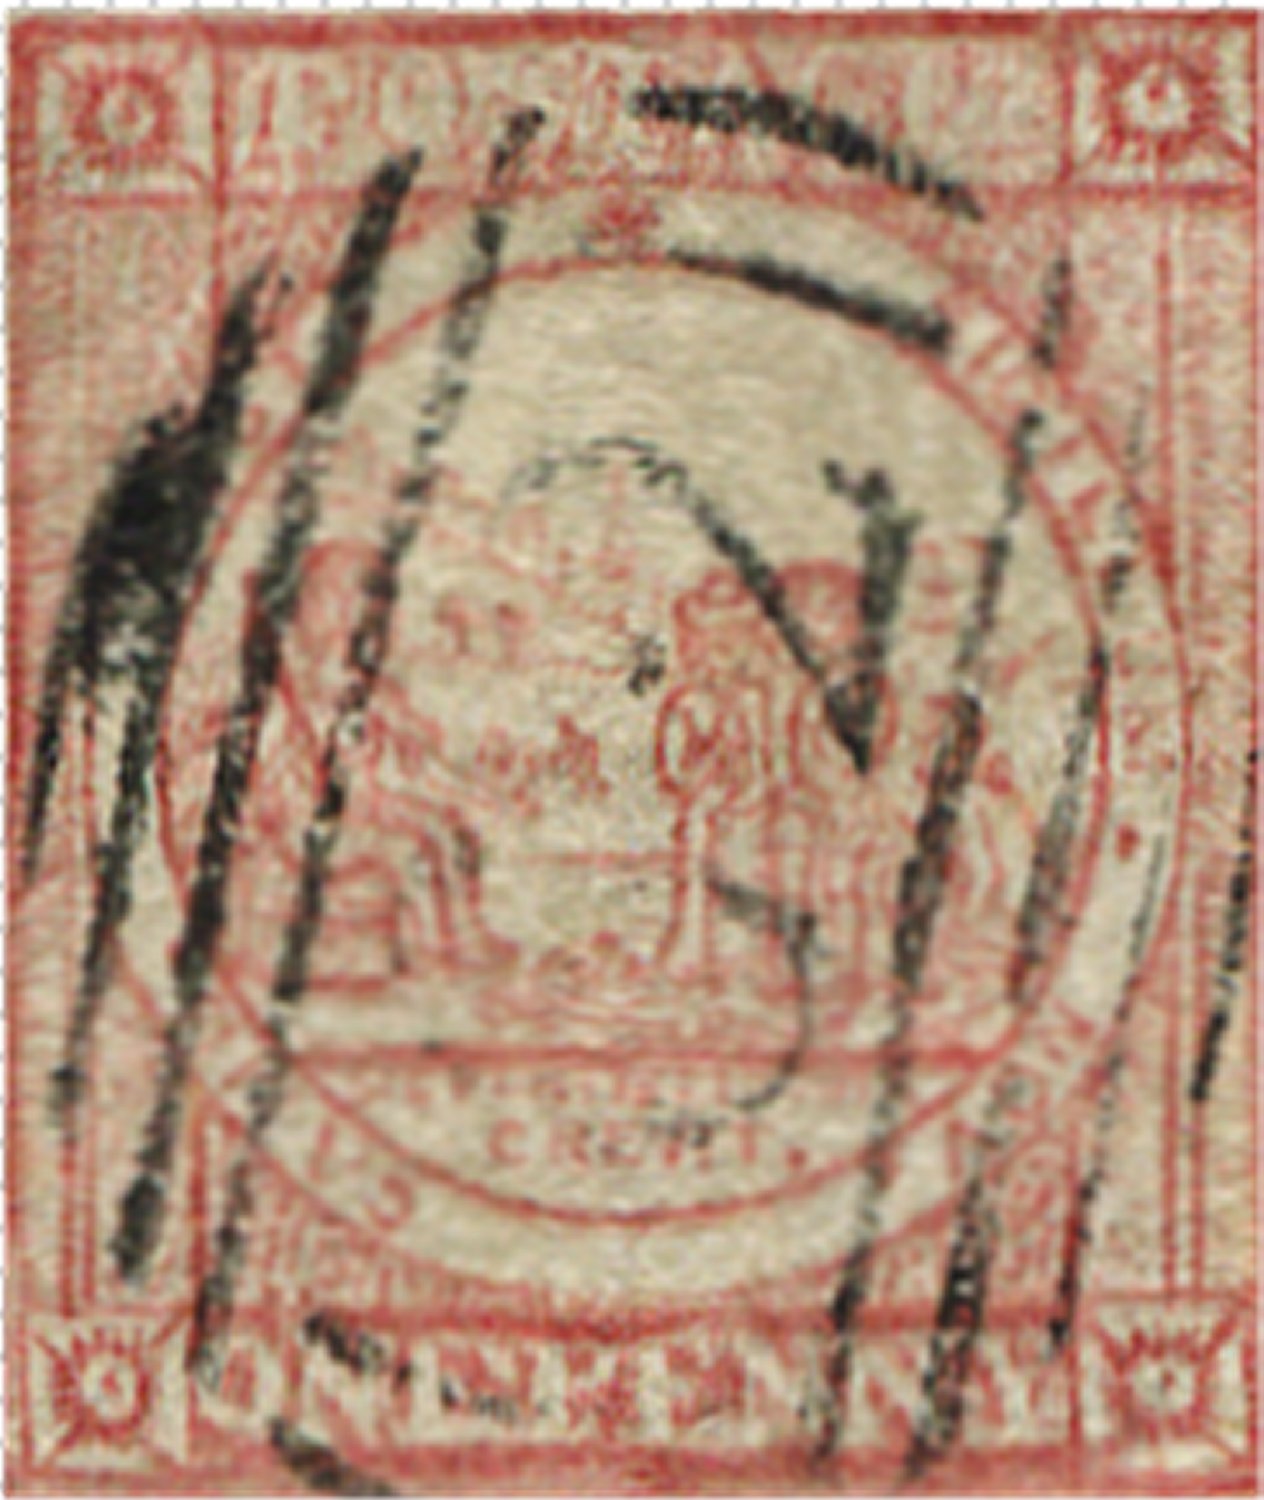
The final step is to resize only the width to 400 pixels. Make sure you have ticked the box to maintain the same aspect ratio which will also resize the width automatically. This will set you photo to the same size as my full size image. You do not need to save any of your image changes because we are doing this just to be able to make a comparison between your photo any my site photos which are now the same size.
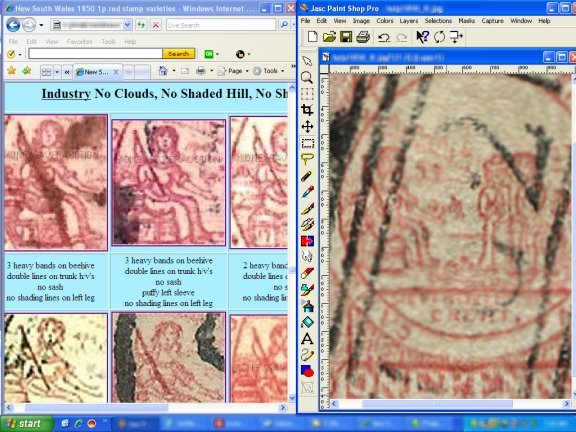
You will see in your photo that there are cloud lines in the sky or no cloud lines in the sky. You will see whether or not the hill behind Industrys' head has shade lines or not. You will see whether Industrys' left extended arm is shaded or not. These three factors will help you to determin what section to be looking in to make comparisons. Put your photo on the right side of the screen. Resize my site so that it is on the left size of the screen. My site may be narrow now but that's ok.
Assume my example stamp is your stamp. No clouds, no shaded hill and no shaded extended arm with sleeve, then scan down the menu page until you see "Identify Industry". Click on that link, go to either plate I or plate II and compare the images of Industry in just that section to your Industry. Compare hair style, face stucture, torso design, leg and feet design, the bale she is sitting on, her head orientation on her neck (inline or offset horizontally), her rolled up sleeve cuffs design. Do not compare any colors or hues or fade qualities. This is not part of my sites' parameters. Only compare design aspects.
When you have spotted a close match then mouseover on my image of Industry for the position, go back to the NSW main menu and either click on Plate I or Plate II.
Go to that plate position and re-compare all aspects of your stamp to the full size plate position.
If you are confident that all the design aspects are equal in every way, then you have a confirmed identification. If not, then repeat the above steps with other design aspects until you do.
The stamp catalogues will give your rough stamp variety details like clouds or no clouds, shaded hill or unshaded hill, trees or no trees, but within this group are sub-varieties that they just cannot list. I do that here. Now you can ID your stamp.